
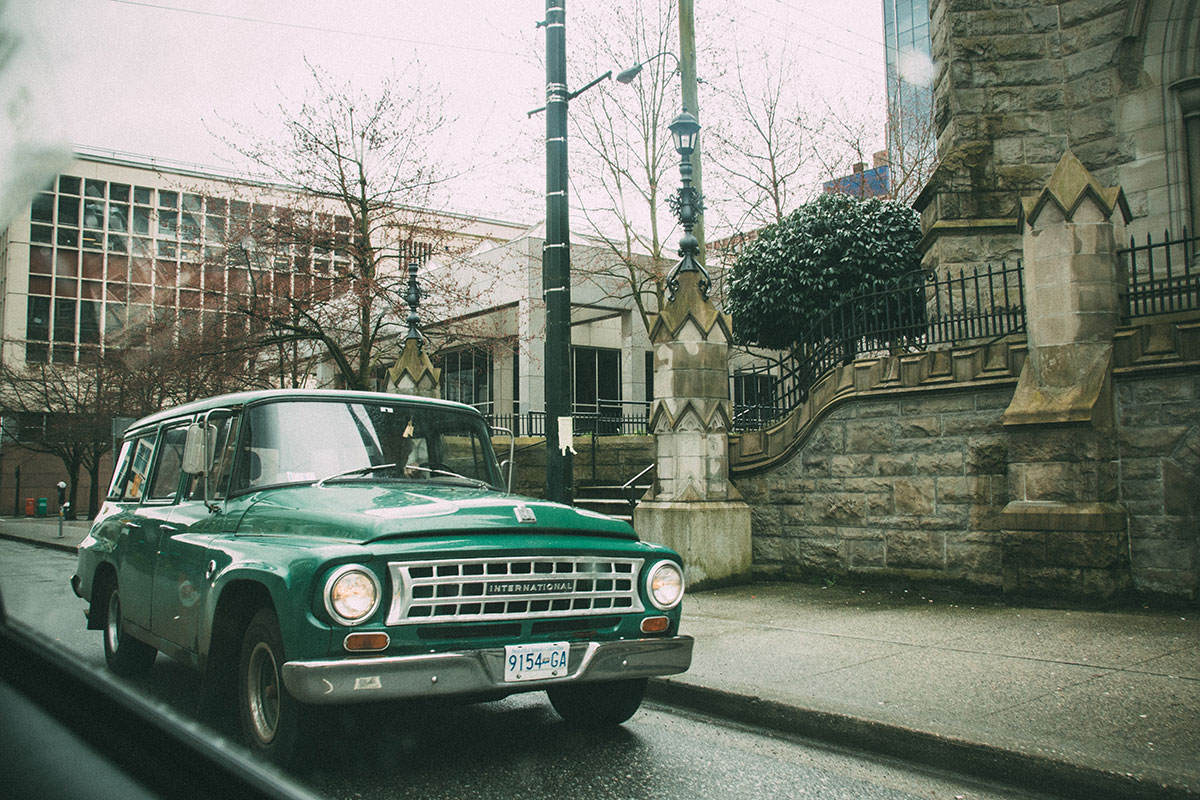
A classic car is truly a work of art! From the detailed and meticulous engineering under the hood, to that shining and radiant paint job that makes it the envy of every passerby. So when the paint starts to degrade, of course you want to make sure it looks its best. Restoring your classic car’s paint job is an essential part of bringing the glory years of your car back to life.
This guide will take you through everything you need to know for restoring the paint on your classic car. From assessing the damage to preparing the car for painting, let’s get started!
Step 1: Assessing the damage
The very first step in restoring your car’s paint job is to take an inventory of the damage that needs to be fixed. Are there scratches, dents, or rust spots in the paint job? Are there spots of paint missing or chipped away? Make sure to write down every detail and identify all the areas that need attention. This way, you will have a clear picture of the work that needs to be done when it comes time to start the restoration.
Step 2: Surface preparation
Once you have assessed the car’s paint job, it’s time for surface preparation. This involves removing any existing paint, rust, dirt, oil, and debris from the car’s surface. The best way to do this is with a power washer and cleaning solvent. Make sure to use a mild detergent and soft brush to avoid damaging the car’s surface. To remove rust spots, it may be necessary to use a rust remover. It is also a good idea to use a fine sandpaper to smooth out any rough surfaces, such as dents or scratches.
Step 3: Priming
Once the car’s surface is clean and smooth, it’s time to apply a primer. This will help ensure that the paint adheres to the car’s surface properly. Primer also helps to protect the paint from corrosion and rust. Choose a primer that is specifically designed for the car’s make and model, as this will provide the best results.
Step 4: Painting
Now the real work begins! Select a high-quality paint that is specifically designed for the car’s make and model. Begin by applying a thin coat of paint to the car’s surface. Allow the paint to dry for about two hours before applying a second coat. For best results, apply two to three thin coats of paint with a few hours drying time in between each coat.
Step 5: Finishing touches
Once the car’s paint job is complete, it’s time for the finishing touches. You may want to add a clear coat to protect the paint job, or perhaps add some detailing to give the car extra flair. No matter what you decide, be sure to take your time and take care of every step along the way, so that your classic car can shine just as brightly as it did on its first drive!